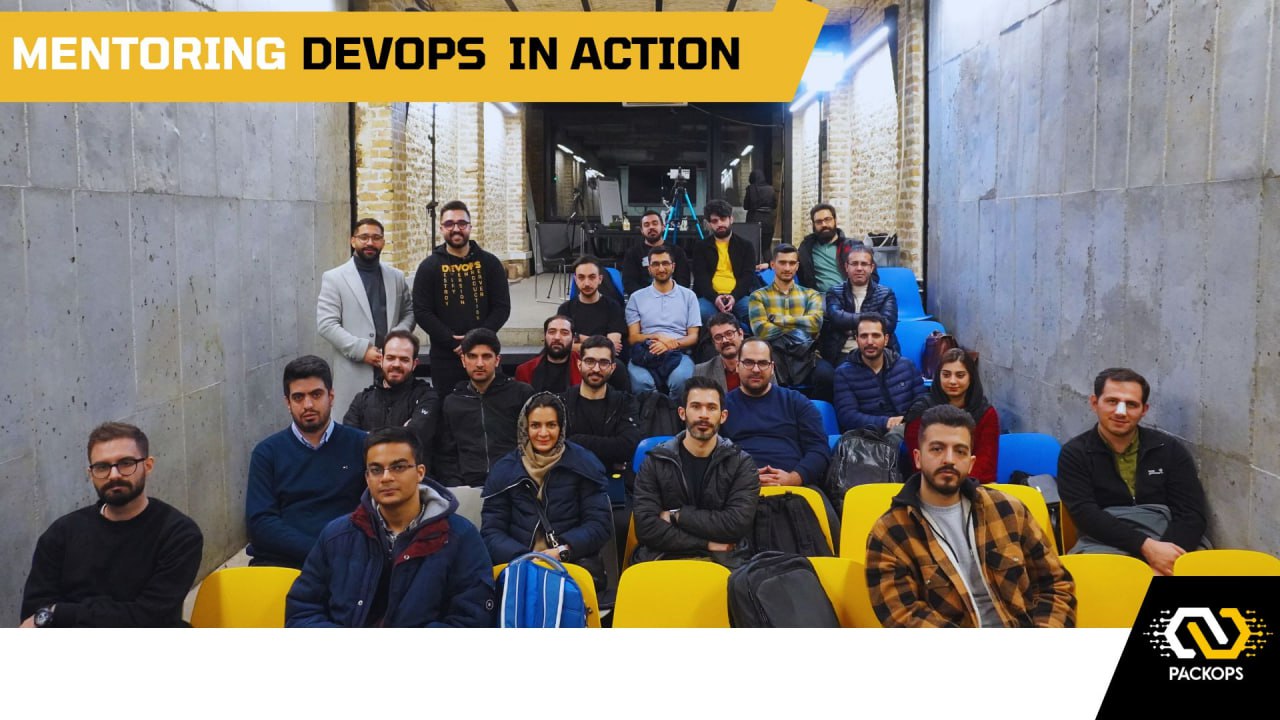
How To Config Wireguard on Linux

Introduction

WireGuard is a fast and modern Opensource    VPN that has been developed by    Jason A. Donenfeld utilizes state-of-the-art cryptography. It aims to be faster, simpler,leaner, and more useful than IPsec in these article we are going to Run Wireguard on Ubuntu with APT and Also on Docker

Wireguard Advantages

  • Crosss Platform
  • state-of-the-art cryptography
  • Simple and Easy to Use
  • High Speed
  • Minimal Attack Surface


How many Line of Codes ??

   IPSEC          

  40,000                    

OPENVPN        

   600,000

Wireguard       

   4,000

How Does Wireguard Work??

Wireguard process:

Wireguard Creates a Pair of Key (Private and Public key ) for each Client that public key of client will determine in the server configuation and everyone that has the its private key can connect (if preshared key has been configured we need to specified that in server and client too )

1- Install Wireguard

				
					apt -y install wireguard-tools 


2- Generate Private Key for Server

				
					wg genkey | tee /etc/wireguard/server.key


3- Generate PublicKey for Server

				
					cat /etc/wireguard/server.key | wg pubkey | tee /etc/wireguard/server.pub 


4- Generate Private Key for Client

				
					wg genkey | tee /etc/wireguard/client.key


5- Generate PublicKey for Client

				
					cat /etc/wireguard/client.key | wg pubkey | tee /etc/wireguard/client.pub 


6- Generate PresharedKey (a value that must be equal in server and client)

				
					wg genpsk > /etc/wireguard/preshared-client1


7- Enable Routing Feature

				
					vim /etc/sysctl.conf
# line 28: uncomment to enable IP forearding
net.ipv4.ip_forward=1 


					sysctl -p 


8- Put it all together

In this step we need to put all configuration in /etc/wireguard/wg0.conf File  before configuring it  wee need to know about terms below :

Address : IP address of Tunnel

PostUP: all Commands that will execute when tunnel goes up

PostDown:  all Commands that will execute when tunnel goes Down

 Public Key : Public key of Client

 Preshared Key : a value that must be equal in server and client

AllowedIPs :  it determines what Client’s IP can Connect


wg0.conf would be like  this :

				
					[Interface]
PrivateKey = aNRbw0DxW4BiWDHjnEcOVXHyRODGDF
Address = 10.8.0.1/24
ListenPort = 51820
PostUp = iptables -A FORWARD -i wg0 -j ACCEPT; iptables -t nat -A POSTROUTING -o eth0 -j MASQUERADE
PostDown = iptables -D FORWARD -i wg0 -j ACCEPT; iptables -t nat -D POSTROUTING -o eth0 -j MASQUERADE

# Client: farshad (03427e95-40c6-4611-8f94-f85271b04185)
[Peer]
PublicKey = KcI1nuEokkvRRsqymWPZlhYp9Q9/19hLMTcGSQspkVs=
PresharedKey = VEruDxXfm2/1PTpE7Syf4kzT0ad4gcpj6VZrsUYpxvA=
AllowedIPs = 10.8.0.2/32


In Client we need to download Wireguard and Put all client’s keyes in a single file and import it to wireguard client

1- Download Wireguard Client For Windows

Wireguard process:

Wireguard Creates a Pair of Key (Private and Public key ) for each Client that public key of client will determine in the server configuation and everyone that has the its private key can connect (if preshared key has been configured we need to specified that in server and client too )

				
					https://download.wireguard.com/windows-client/wireguard-installer.exe


2- Import configs in Wireguard

be careful  about these termination :

Address : IP address of Tunnel

Endpoint : IP Address of Wireguard Server

 PrivateKey : Client’s Private key

 Preshared Key : a value that must be equal in server and client


					[Interface]
# private key for client generated on WireGuard server
PrivateKey = 2IcE8jDSDpHGOFBk5vEkmJ5yP7T9YHU+vr0mya+h5Ho=
# IP address for VPN interface
Address = 172.16.100.5
[Peer]
# specify public key for server generated on WireGuard server
PublicKey = AIUd+0cxJVkbq4M+4cVUJhHu1Nxszlz3ccidVTbCh1k=
AllowedIPs = 0.0.0.0/24
# specify server's global IP address:port
EndPoint = 172.29.10.100:51820


how to install docker on ubuntu

Introduction

In this Article we are going to  install docker-ce on Ubuntu 20 but before installation we should know about :

What is Docker ?

how to intall docker packops.dev installing docker on ununtu how to docker compose on ubuntu

Docker is a set of platform as a service products that use OS-level virtualization to deliver software in packages called containers. Containers are isolated from one another and bundle their own software, libraries and configuration files; they can communicate with each other through well-defined

what is docker-compose ?

Compose is a tool for defining and running multi-container Docker applications. With Compose, you use a YAML file to configure your application’s services. … Run docker compose up and the Docker compose command starts and runs your entire app.


Configuration

1- Setup Repository

				
					 sudo apt-get update

 sudo apt-get install \
    apt-transport-https \
    ca-certificates \
    curl \
    gnupg \
    lsb-release


2- Add Docker’s official GPG key:

				
					 curl -fsSL https://download.docker.com/linux/ubuntu/gpg | sudo gpg --dearmor -o /usr/share/keyrings/docker-archive-keyring.gpg


3- Add Docker’s official Repository :

				
					echo \
  "deb [arch=amd64 signed-by=/usr/share/keyrings/docker-archive-keyring.gpg] https://download.docker.com/linux/ubuntu \
  $(lsb_release -cs) stable" | sudo tee /etc/apt/sources.list.d/docker.list > /dev/null


4- Installing  Docker

				
					 sudo apt-get update

 sudo apt-get install docker-ce docker-ce-cli containerd.io


Installing Docker from Bash script

				
					wget -qO-  https://raw.githubusercontent.com/farshadnick/docker-installation-script/main/docker-install.sh | sh


Installing Docker-compose  from Bash script

				
					wget -qO-  https://raw.githubusercontent.com/farshadnick/docker-installation-script/main/docker-compose-install.sh | sh